
When your organisation is new in the online world and when the enterprise has just stepped into a new digital persona, people tend to choose a shared hosting server.
It may be because it is the best way to test the waters without spending much, or it may be because the budget is limited for digital presence purposes.
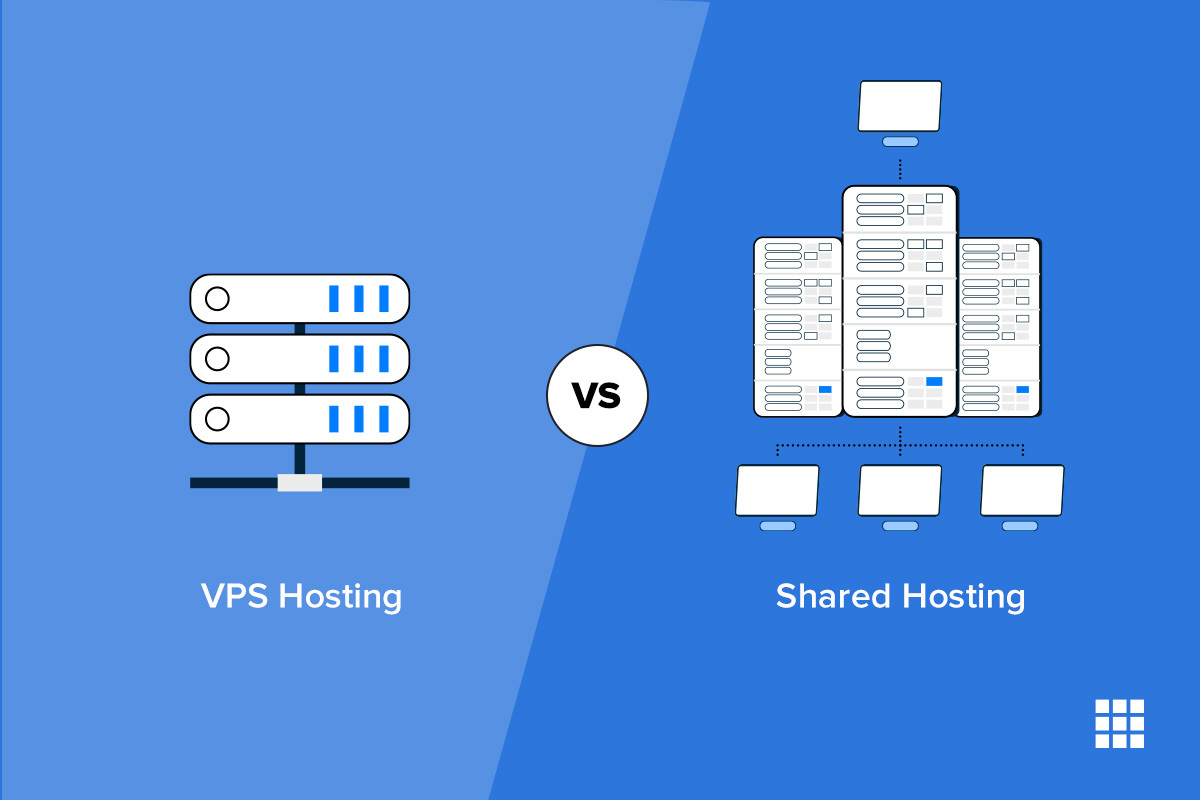
But, moving ahead, you will find various reasons to shift from a shared hosting environment to a VPS hosting environment, that is, virtual private server hosting. It can be:
- Scaling due to growth in the business
- Bad quality of services
- Lack of security measures
- Increased risks
- Lack of exclusivity in resource management
- Bad experience with the server provider
- Lack of control over customisation
These reasons are valid and reasonable enough to make a shift from shared hosting to either VPS or dedicated hosting. Most of the time, when an organisation migrates, VPS hosting is a popular choice because of its cost and service structure. It might be the best option available in the market for small and medium enterprises that are growing.
When VPS hosting in Australia is concerned, you can find various providers readily available to offer you services. The expertise of Australian domain hosts will allow seamless migration from one provider to another.
Since it is your website, you must be able to complete the migration process without any hurdles. So here are the steps to migrate from shared hosting to VPS hosting.
An Elaborate Guide For Migration From Shared Hosting to VPS Hosting
-
Website Backup
Before you initiate your migration process, backup the content and data of your website. It ensures the safety of your website content. If in case, anything goes wrong at the time of data transmission, you always have a data backup with you.
To do so, you have to log in to your control panel. For the website files, use FTP clients and track down your files. When you select the Export option, it will create an archive of your website files.
-
Set Up The Virtual Private Server
You will have to choose a good virtual server hosting provider for your website. Consider all the determining factors of a good host and choose the right one. After choosing the hosting provider, you will have to create an account and set up a VPS.
If you choose the unmanaged VPS services, you will have to do this step yourself. Otherwise, usually, the provider completes the setting up process.
-
Transfer the Files
You can use the FTP solution to import the website data and content to this new server. This step ensures the replication of content on VPS.
There is another way of completing the transfer of files, and that is through a Secure shell solution, a SHH client. It is used to operate the network services in an insecure environment. A few steps and SSH commands will help you transfer the files safely.
-
Update Domain Name System Settings
The next step is that you update the new domain’s DNS settings to your new VPS IP address. This will redirect your users to your new VPS IP address and not the old shared hosting one.
You have to open the domain registrar account and change the nameserver, database name, database username, and password.
Summarising the Process
This is an elaborate and simplified step-by-step guide to migration from shared hosting to VPS hosting. This will lay down a basic map of the procedure.
As you begin the process, you will be able to comprehend the process and complete it with a comprehensive approach.